Chicken Biryani is one of the most beloved and aromatic rice dishes in Indian cuisine. Known for its rich layers of basmati rice, succulent marinated chicken, and fragrant spices, biryani holds a royal status in festive meals, family gatherings, and special occasions. Though the process may look elaborate, with the right steps and patience, anyone can make an authentic, restaurant-style Chicken Biryani at home. Here is a detailed step-by-step recipe that perfectly balances flavor, texture, and aroma.
Ingredients Required
For Chicken Marinade
- 1 kg chicken (bone-in preferred)
- 1 cup thick curd / yogurt
- 2 tablespoons ginger-garlic paste
- ½ teaspoon turmeric powder
- 2 teaspoons red chilli powder
- 1 teaspoon garam masala
- 1 teaspoon coriander powder
- ½ teaspoon black pepper powder (optional)
- 1 tablespoon lemon juice
- 2–3 green chillies (slit)
- Handful of chopped mint leaves
- Handful of chopped coriander leaves
- Salt to taste
- 2 tablespoons oil
For Rice
- 4 cups basmati rice (soaked for 30 minutes)
- 8 cups water
- 2 bay leaves
- 4 cloves
- 4 green cardamom
- 1 black cardamom
- ½ inch cinnamon stick
- 1 star anise
- 1 teaspoon ghee
- Salt to taste
For Biryani Layering
- 2 large onions thinly sliced
- ¼ cup oil or ghee for frying onions
- Saffron strands soaked in ¼ cup warm milk (or 1 tsp kewra or rose water for aroma)
- Additional mint and coriander leaves for layering
- 1 tablespoon ghee
Preparation Steps
Step 1: Marinate the Chicken
Take a large mixing bowl and combine yogurt, ginger-garlic paste, turmeric, chilli powder, lemon juice, garam masala, coriander powder, mint leaves, green chillies, salt, and oil. Mix everything well until it forms a smooth, flavorful marinade. Add cleaned chicken pieces to the mixing bowl and coat each piece thoroughly. Cover and refrigerate for at least 1–2 hours; overnight marination gives even richer taste and tenderness.
The marination not only adds flavor but also ensures that chicken becomes soft and juicy during cooking.
Step 2: Fry the Onions (Birista)
Heat oil or ghee in a wide pan and fry the sliced onions on medium heat until they become deep golden brown and crispy. This may take 15–20 minutes. Remove them and place on a tissue to remove excess oil. These fried onions add a sweet caramelized flavor that enhances the overall biryani taste. Crush a portion lightly and keep aside.
Step 3: Par-boil the Basmati Rice
In a large pot, boil water with bay leaves, cloves, cinnamon, cardamom, star anise, salt, and ghee. Add soaked basmati rice and cook until it becomes 70% done (grains should be long but slightly firm in the center). Drain the water and spread the rice gently on a plate to prevent sticking. Perfectly half-cooked rice ensures that during dum cooking, the rice absorbs flavors without turning mushy.
Step 4: Cook the Chicken
Heat 2 tablespoons ghee or oil in a heavy-bottom handi or biryani vessel. Add the marinated chicken with all its juices and spread evenly. Cook on medium flame for about 8–10 minutes until the chicken changes color and oil separates slightly. Do not fully cook it because it will finish cooking during the dum process. Turn off the flame.
Step 5: Layering the Biryani
Layering is crucial to get authentic biryani texture. Follow this pattern:
- Keep the partially cooked chicken at the bottom of the pot.
- Add a layer of partially cooked rice evenly over the chicken.
- Sprinkle fried onions, chopped mint, coriander, a few drops of saffron milk or kewra, and a spoon of ghee.
- Add another layer of rice and repeat toppings.
- The final layer should be only rice with garnish of fried onions, ghee, and saffron milk.
This careful layering allows steam to circulate and flavors to merge beautifully.
Step 6: Dum Cooking Technique
Seal the top of the handi with a tight lid. You can also use dough to close the edges to lock in steam. Cook on high flame for 5 minutes, then reduce to low flame for 30–35 minutes. Alternatively, place the pot on a tawa to avoid burning and cook on low flame.
Dum cooking allows steam to slowly infuse spices and juices into rice, creating the signature biryani aroma.
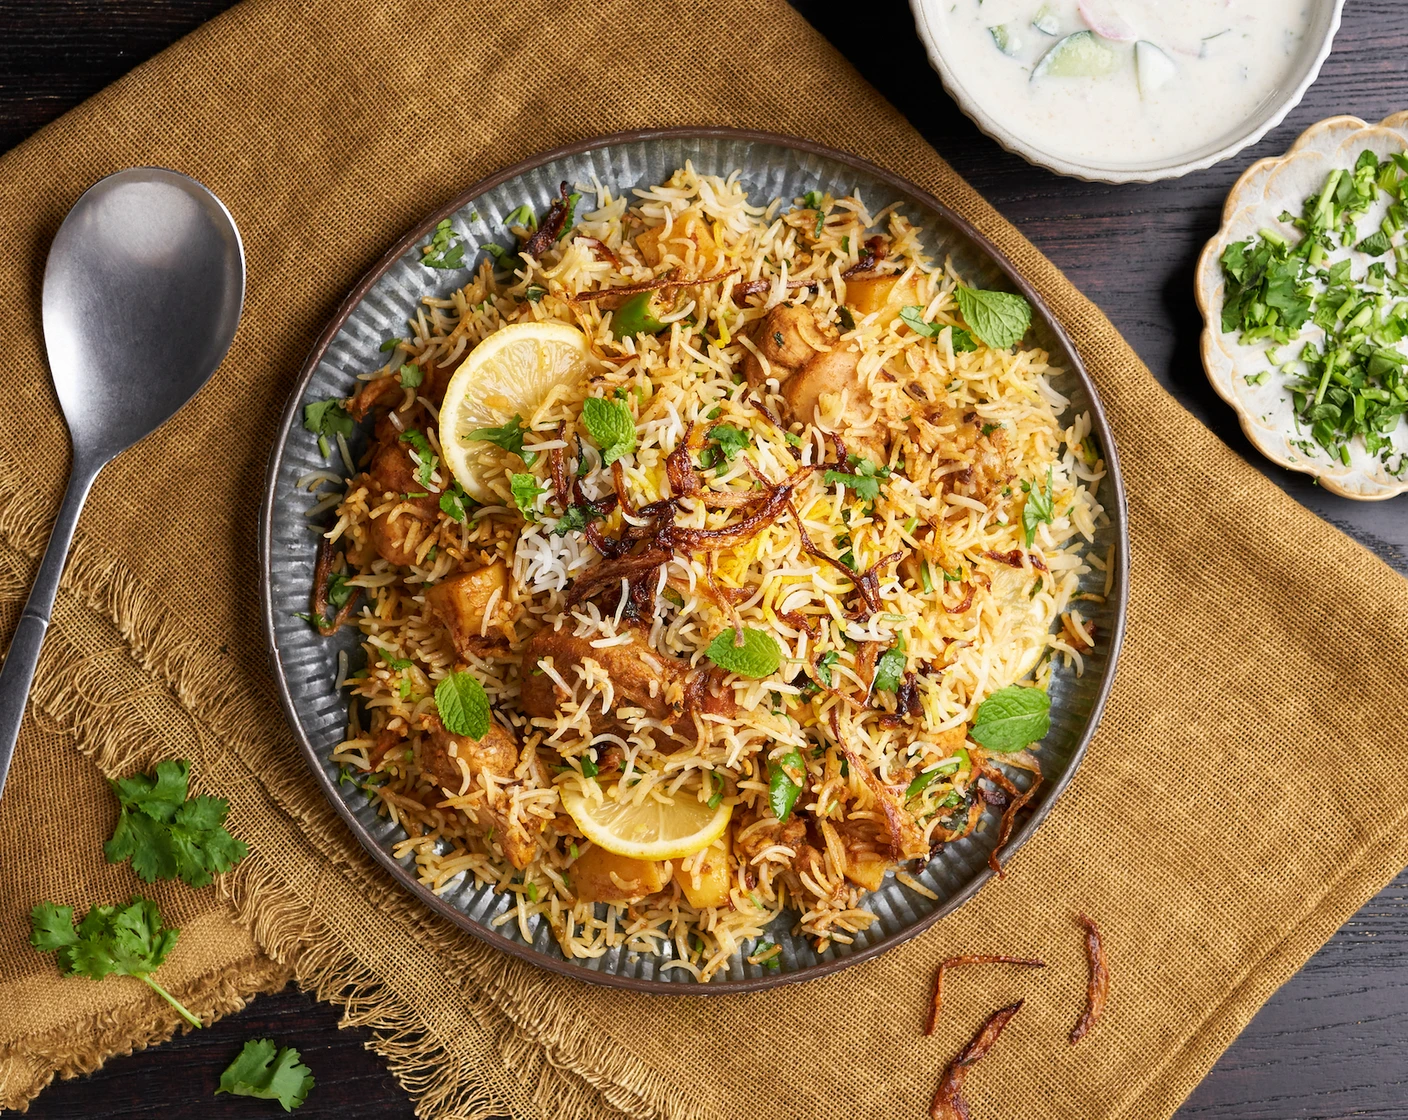
Step 7: Serve and Enjoy
Once cooked, open the lid carefully and let the steam release. Gently fluff the biryani from the sides using a flat spoon. Serve hot with raita, boiled eggs, salad, or mirchi ka salan.
Tips for Perfect Chicken Biryani
- Always use long-grain basmati rice for authentic results.
- Bone-in chicken adds more flavor than boneless.
- Do not overcook rice before layering.
- Fry onions patiently until deep golden for the best taste.
- Use ghee for richness and aroma.
- Rest the biryani covered for 10 minutes before serving.
Conclusion
Chicken Biryani is not just a recipe—it’s a culinary experience full of color, aroma, and tradition. Each spoonful delivers delicate rice, flavorful meat, and heavenly spices. Although it requires time and multiple steps, the final creation is worth every minute. Once you master the process, this biryani will become a star dish at every celebration and a delightful treat for your family.
Do Follow Us On Instagram