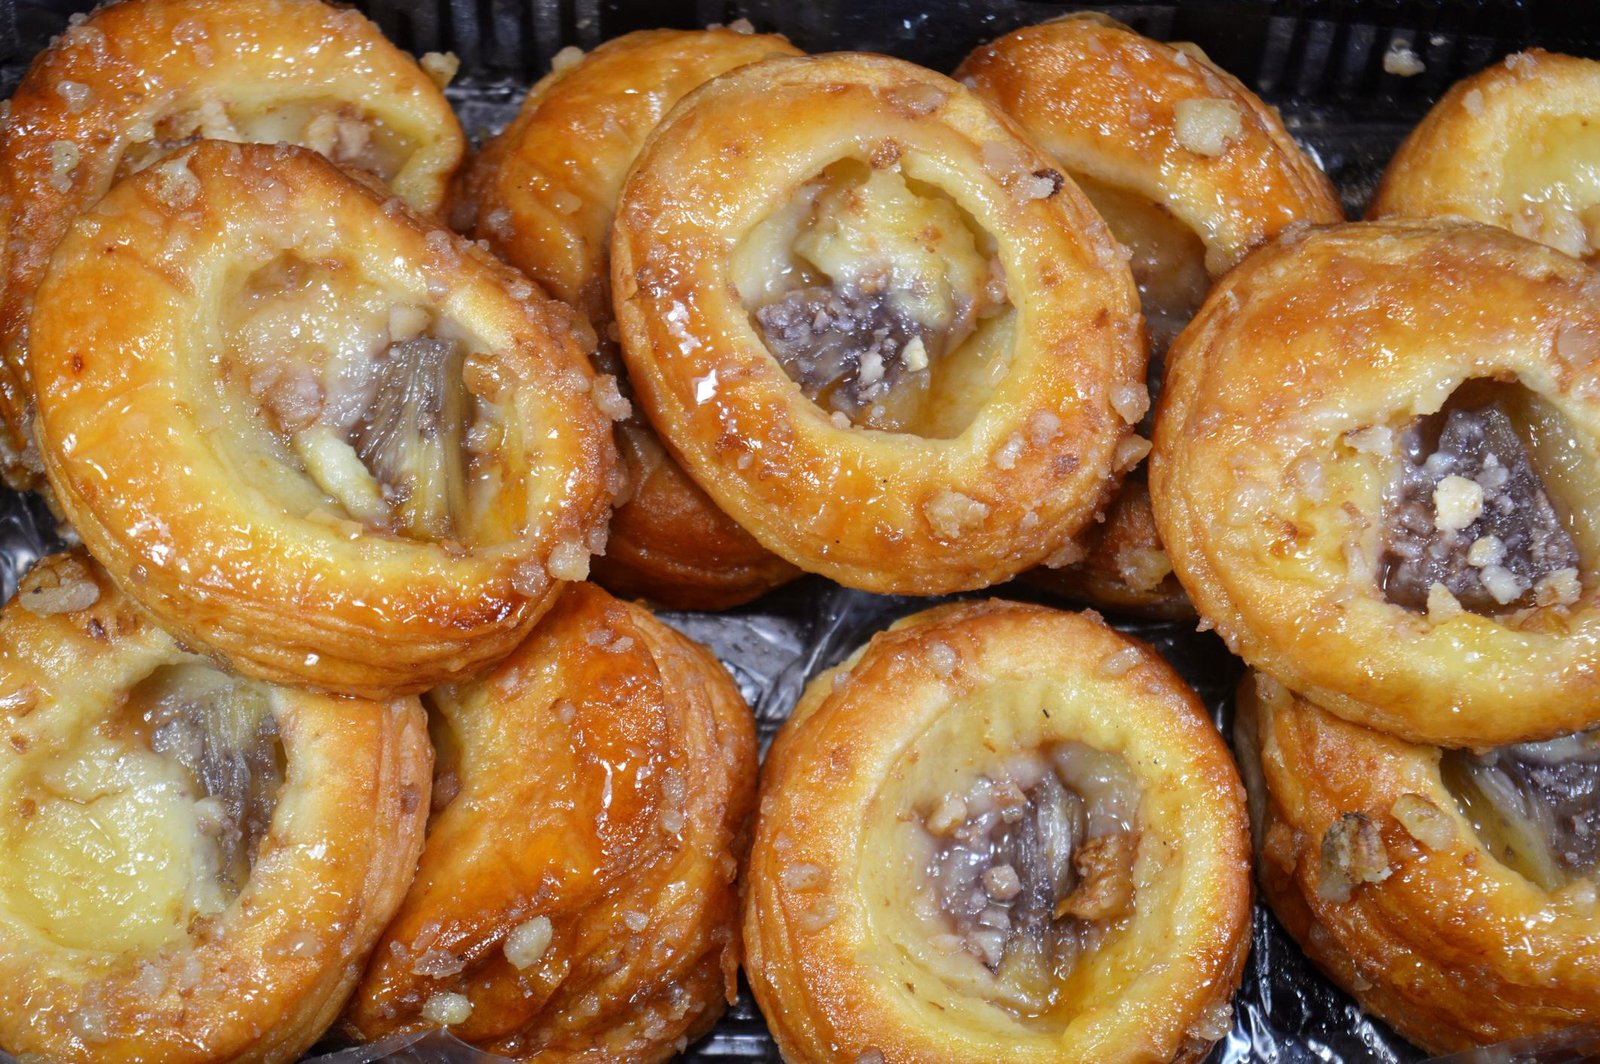
Danish Pastry is a rich, laminated pastry made with yeast-leavened dough and butter layers, giving it a soft interior and crisp, flaky exterior. Originating from European baking traditions, Danish pastries are often filled with custard, fruit compote, cream cheese, or chocolate and finished with icing or glaze. Though it looks bakery-level, Danish pastry can be made at home with patience and proper technique.
Below is a clear, step-by-step Danish Pastry recipe, explained in detail so you can confidently prepare bakery-style pastries at home.
Ingredients (Makes 10–12 Pastries)
For the Dough
- All-purpose flour (maida) – 3 cups
- Instant dry yeast – 2¼ teaspoons (1 packet)
- Sugar – ¼ cup
- Salt – 1 teaspoon
- Milk – ¾ cup (lukewarm)
- Unsalted butter – ¼ cup (softened)
- Egg – 1 (room temperature)
- Vanilla essence – 1 teaspoon
For Butter Layer (Lamination)
- Unsalted butter – ¾ cup (cold)
- All-purpose flour – 2 tablespoons
For Filling (Choose One or Mix)
- Fruit jam or compote – ½ cup
- Cream cheese – ½ cup (sweetened lightly)
- Custard – ½ cup
- Chocolate chips – ¼ cup
For Topping
- Egg wash – 1 egg + 1 tablespoon milk
- Powdered sugar glaze – optional
Step 1: Preparing the Yeast Dough
In a bowl, mix lukewarm milk and sugar. Add yeast, stir lightly, and rest for 5–10 minutes until frothy. This confirms the yeast is active.
In a large bowl, add flour and salt. Make a well in the center and add yeast mixture, egg, vanilla essence, and softened butter. Mix to form a soft dough.
Knead for 8–10 minutes until smooth and elastic. The dough should be soft but not sticky. Cover and let it rise in a warm place for 1½ to 2 hours, or until doubled in size.
Step 2: Preparing the Butter Block
Place cold butter on parchment paper. Sprinkle flour over it and gently pound or roll into a 6×6 inch square. Keep it chilled but pliable. This butter block creates the flaky layers.
Step 3: Laminating the Dough (Creating Layers)
After the dough rises, punch it down gently. Roll it into a 10×10 inch square.
Place the butter block in the center diagonally. Fold the dough corners over the butter, sealing it completely.
Roll gently into a rectangle and perform a single fold (letter fold): fold one-third from one side and the other third over it.
Wrap and refrigerate for 30 minutes.
Repeat this rolling and folding process 2 more times, chilling between each fold. This creates thin layers of butter and dough.
Step 4: Shaping the Danish Pastries
After the final chill, roll the dough into a ¼-inch thick rectangle.
Cut into squares or rectangles. Add filling in the center. Shape into pinwheels, envelopes, twists, or spirals.
Place shaped pastries on a lined baking tray, leaving space between them.
Step 5: Second Proofing
Cover loosely and allow pastries to proof for 30–45 minutes until slightly puffy. Do not overproof.
Step 6: Baking
Preheat oven to 190°C (375°F).
Brush pastries gently with egg wash. Bake for 18–22 minutes until golden brown and flaky.
Remove and cool on a wire rack.
Step 7: Glazing and Serving
Once slightly warm, drizzle with powdered sugar glaze or dust with icing sugar.
Serve fresh with coffee or tea.
Tips for Perfect Danish Pastry
- Keep butter and dough cold during lamination
- Do not rush chilling steps
- Use unsalted butter for control over flavor
- Avoid overfilling
- Handle dough gently to preserve layers
Variations You Can Try
- Apple Danish – Use cinnamon apple filling
- Cheese Danish – Sweetened cream cheese filling
- Chocolate Danish – Chocolate chips or Nutella
- Berry Danish – Blueberry or strawberry compote
Storage Tips
- Best eaten fresh
- Store in airtight container for 1 day at room temperature
- Reheat briefly in oven before serving
Conclusion
Danish Pastry is the perfect balance of buttery richness, flaky texture, and soft, airy crumb. Though it requires time and patience, the result is a stunning homemade pastry that rivals any bakery. With proper lamination, careful proofing, and gentle handling, you can create beautiful, delicious Danish pastries right in your kitchen.
Do Follow Us on Instagram