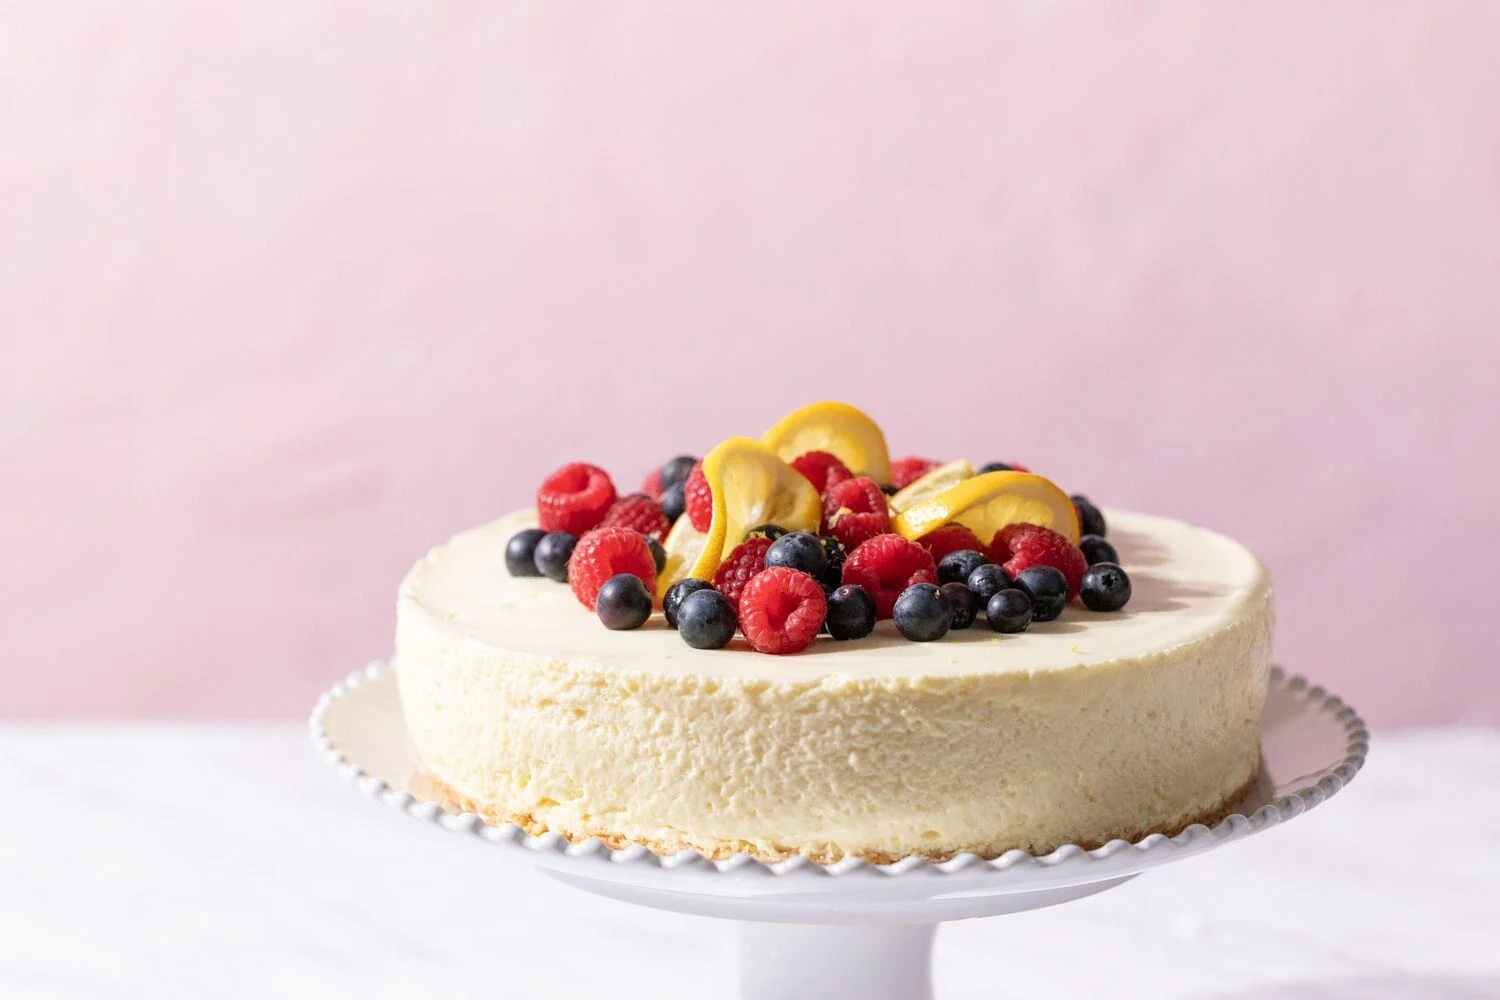
New York cheesecake is a rich, creamy, and indulgent dessert that’s beloved across the globe. Known for its dense and velvety texture, this iconic dessert originated in the early 20th century and has become a staple in bakeries and homes alike. What makes a New York cheesecake distinct is the generous use of cream cheese, often combined with heavy cream or sour cream, and baked in a graham cracker crust. Let’s take a closer look at how to make an authentic New York cheesecake from scratch.
Ingredients:
For the crust:
- 1 ½ cups graham cracker crumbs (about 10 full crackers)
- ¼ cup granulated sugar
- ½ cup unsalted butter, melted
For the filling:
- 4 (8-ounce) packages of full-fat cream cheese, softened
- 1 cup granulated sugar
- 1 cup sour cream
- ¾ cup heavy cream
- 1 tablespoon vanilla extract
- 4 large eggs
- 2 tablespoons all-purpose flour (optional, for structure)
Instructions:
Step 1: Prepare the Crust
Start by preheating your oven to 175°C (350°F). Grease a 9-inch springform pan and line the bottom with parchment paper. In a medium bowl, combine the graham cracker crumbs, sugar, and melted butter. Stir until the crumbs are evenly moistened. Press this mixture into the bottom of the springform pan, using the bottom of a glass or measuring cup to create an even layer. Bake the crust for 8–10 minutes until lightly golden. Remove from oven and allow it to cool while you prepare the filling.
Step 2: Make the Cheesecake Filling
Place the softened cream cheese in a large mixing bowl or a stand mixer. Beat on medium speed until smooth and fluffy, about 3–4 minutes. Add the sugar and continue to beat until well incorporated. Add the sour cream, heavy cream, and vanilla extract, beating until the mixture is smooth. Then, add the eggs one at a time, mixing on low speed after each addition just until combined. Avoid overmixing, as it can incorporate air bubbles and cause the cheesecake to crack. Finally, mix in the flour if using, which can help with structure but is optional.
Step 3: Assemble and Bake
Pour the filling over the cooled crust, smoothing the top with a spatula. To ensure even baking and prevent cracking, bake the cheesecake in a water bath. Wrap the outside of the springform pan with aluminum foil to prevent water from seeping in. Place the pan in a large roasting tray and fill the tray with hot water until it reaches halfway up the sides of the springform pan.
Carefully transfer the water bath to the preheated oven and bake for 60–70 minutes. The cheesecake should be mostly set with a slight wobble in the center. Turn off the oven, crack the door open slightly, and let the cheesecake cool inside for 1 hour. This gentle cooling process helps prevent surface cracks.
Step 4: Chill the Cheesecake
Remove the cheesecake from the oven and the water bath. Once it reaches room temperature, cover it with plastic wrap and refrigerate for at least 6 hours, preferably overnight. This chilling time allows the cheesecake to fully set and enhances its flavor and texture.
Step 5: Serve and Enjoy
Once fully chilled, run a knife around the edge of the pan before releasing the springform sides. Transfer the cheesecake to a serving plate. You can serve it plain or topped with your choice of fresh berries, fruit compote, caramel sauce, or chocolate ganache.
Tips for the Perfect New York Cheesecake:
- Use full-fat ingredients – They provide the rich and creamy texture that defines a classic New York cheesecake.
- Avoid overmixing – This prevents too much air from entering the batter, which can cause cracks.
- Use a water bath – It helps to evenly bake the cheesecake and prevent cracking.
- Chill thoroughly – The cheesecake needs time in the fridge to firm up and develop its signature taste.
Conclusion
The New York cheesecake is a timeless dessert that stands out for its luxurious texture and balanced flavor. Whether served plain or dressed with toppings, it is always a crowd-pleaser. While the process might seem elaborate, the result is well worth the effort. With patience and precision, you can recreate this classic dessert in your own kitchen and impress family and friends with your baking skills.
Do Follow Us On Instagram