Ginger Halwa, also known as Allam Halwa in South India, is a traditional sweet that combines the warmth and spice of fresh ginger with the richness of ghee, sugar, and milk. This unique halwa is both delicious and therapeutic—perfect for soothing sore throats, aiding digestion, and warming the body during winter. Unlike typical halwas made from flour or lentils, ginger halwa stands out for its bold flavor and aromatic intensity. Here’s how you can prepare this delightful treat step by step.
Ingredients
Main Ingredients:
- Fresh ginger – ½ cup (peeled and finely grated)
- Ghee – ½ cup (clarified butter)
- Sugar – ¾ cup (adjust to taste)
- Milk – 1 cup
- Water – 1 cup
- Semolina (rava/sooji) – 2 tablespoons
- Cashew nuts – 8 to 10 (broken)
- Almonds – 5 (chopped)
- Cardamom powder – ½ teaspoon
- A pinch of salt
Optional Additions:
- Jaggery – 2 tablespoons (for a deeper, earthy sweetness)
- A few saffron strands (soaked in 2 tablespoons of warm milk)
- Edible camphor – a tiny pinch (for traditional aroma, optional)
Step-by-Step Preparation
1. Prepare the Ginger
The key to a perfect ginger halwa lies in how you handle the ginger. Choose fresh, tender ginger roots since they are less fibrous and have a milder heat. Wash and peel the ginger thoroughly. Grate it finely using a small grater or grind it into a coarse paste in a blender. Avoid making it too fine, as the slightly grainy texture adds to the halwa’s character.
If you prefer a less spicy version, soak the grated ginger in warm water for 10–15 minutes and then squeeze out the juice. This step reduces the sharpness without compromising the aroma.
2. Roast the Nuts
In a thick-bottomed pan or kadhai, heat two tablespoons of ghee. Add the cashews and almonds, and roast them on low flame until golden brown. Remove and set them aside. This step enhances the nutty flavor and provides a delightful crunch to the halwa.
3. Roast the Semolina
In the same pan, add the semolina (rava) and dry roast it for 2–3 minutes until it turns light golden and aromatic. This helps in thickening the halwa and gives it a smooth texture. Once roasted, keep it aside.
4. Cook the Ginger
Add two more tablespoons of ghee to the pan and then add the grated ginger. Sauté it on medium flame for about 5–7 minutes until the raw smell fades and the mixture turns slightly golden. Be careful not to burn it, as ginger can turn bitter if overcooked.
At this stage, your kitchen will be filled with a wonderful aroma—a mix of warmth and spice that sets the tone for the rest of the recipe.
5. Add Liquid Base
Once the ginger is sautéed well, pour in one cup of milk and one cup of water. Stir continuously. Allow the mixture to simmer for 5–6 minutes so that the ginger infuses its flavor into the liquid. The milk will add richness, while the water ensures the mixture doesn’t become too heavy.
If you are using saffron, add the soaked strands now. They not only give a beautiful golden hue but also add a subtle floral aroma.
6. Add Sugar and Simmer
Now, add the sugar to the mixture and stir until it dissolves completely. The mixture will loosen up slightly as the sugar melts. Continue stirring to prevent it from sticking to the bottom. Let it cook for another 5–7 minutes on low flame, allowing the flavors to blend.
If you prefer a more caramelized sweetness, you can replace half the sugar with jaggery. Just ensure to add jaggery after turning off the heat to avoid curdling the milk.
7. Add Roasted Semolina
Slowly sprinkle the roasted semolina into the simmering mixture while stirring constantly to prevent lumps. The halwa will start thickening gradually. Continue stirring until it comes together and starts leaving the sides of the pan. This is a sign that the mixture is perfectly cooked.
8. Enrich with Ghee and Flavor
Add the remaining ghee little by little while stirring. The ghee will give the halwa a glossy finish and prevent it from sticking. Add the roasted nuts, cardamom powder, and a pinch of salt to balance the flavors. If desired, you can also add a tiny pinch of edible camphor for a traditional temple-style aroma.
Cook for 2–3 more minutes until the halwa becomes thick and aromatic. It should have a soft, luscious texture with visible traces of ghee on the sides.
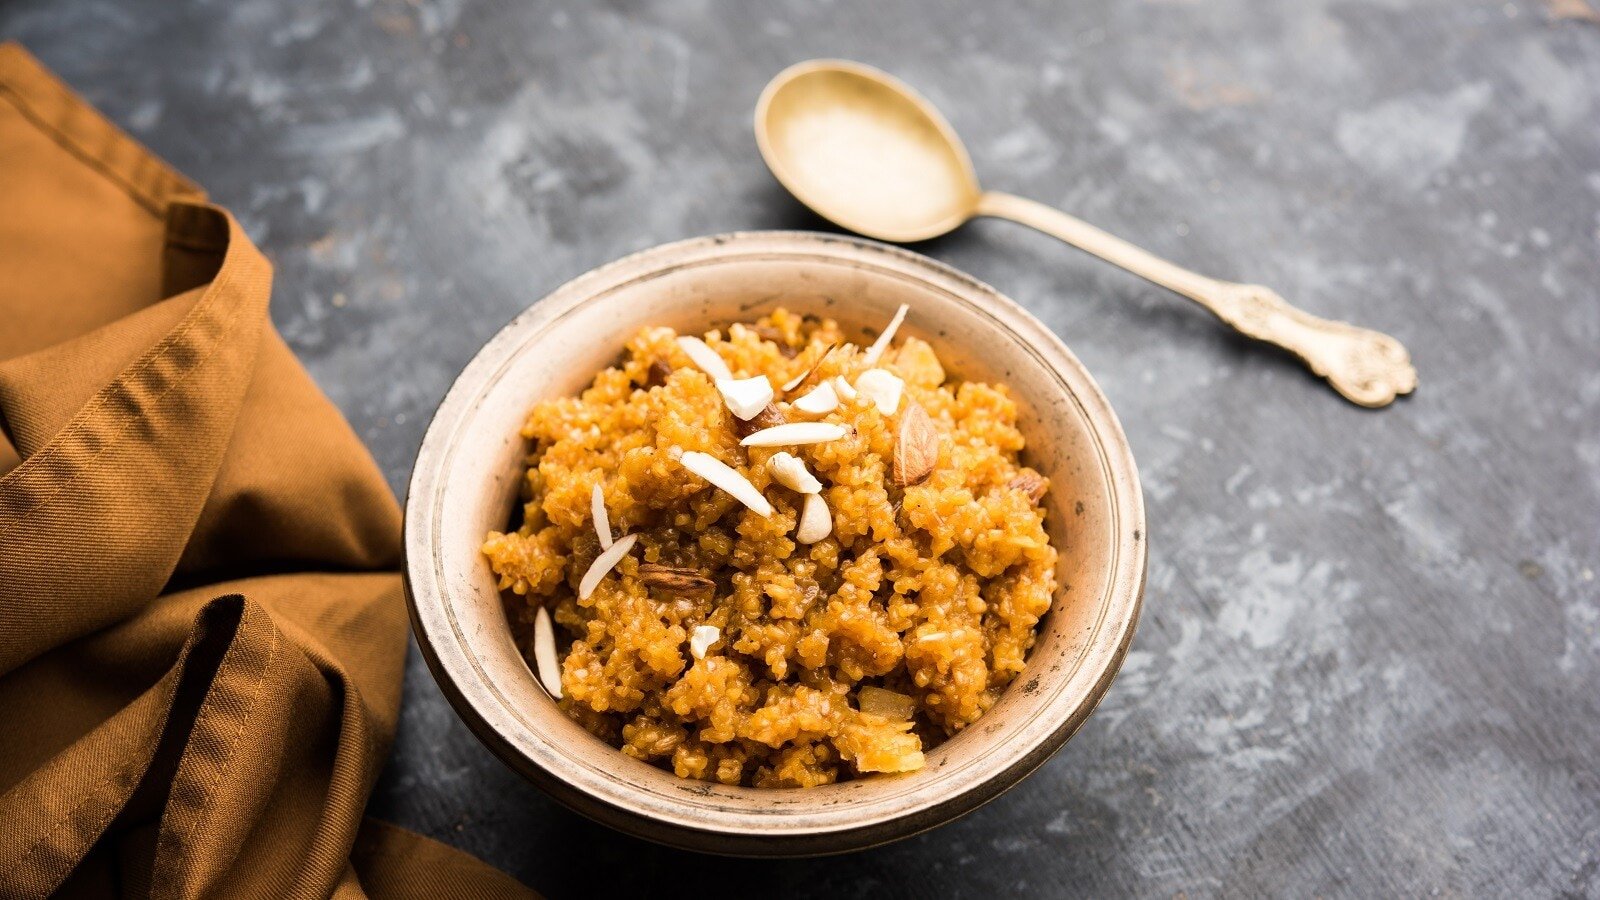
9. Serve and Garnish
Transfer the halwa to a serving bowl or mold it into small portions using a spoon. Garnish with a few chopped almonds or pistachios. Serve it warm or at room temperature. It pairs beautifully with a cup of masala chai or filter coffee.
Health Benefits of Ginger Halwa
Ginger Halwa is not only delicious but also extremely nourishing:
- Aids Digestion: Ginger helps stimulate digestive enzymes, making it great after heavy meals.
- Boosts Immunity: The combination of ginger and ghee strengthens immunity and helps combat seasonal flu.
- Relieves Cold and Cough: The warming nature of ginger clears nasal congestion and soothes sore throats.
- Improves Circulation: Regular consumption (in moderation) keeps the body warm and improves blood flow during cold weather.
Because of these benefits, ginger halwa is often made in Indian households during monsoon or winter seasons.
Tips for Perfect Ginger Halwa
- Balance the Spice:
Adjust the quantity of ginger based on your spice tolerance. For a milder version, use half the amount or blanch the ginger before grating. - Use Fresh Ghee:
The flavor of good-quality ghee is essential—it enhances the aroma and gives the halwa a rich taste. - Consistency Control:
If you like a softer halwa, stop cooking while it’s still slightly runny. For a firmer texture, cook a few minutes longer until it thickens and forms a lump. - Storage:
Ginger halwa stays fresh for up to 3–4 days in the refrigerator. Reheat with a teaspoon of ghee before serving.
Conclusion
Ginger Halwa is a perfect blend of health and indulgence—a dessert that soothes, heals, and satisfies. The fiery warmth of ginger paired with the luxurious richness of ghee and the sweetness of sugar makes it an unforgettable treat. Whether you serve it as a festive sweet or a comforting winter dessert, this traditional halwa is sure to impress. With just a few simple ingredients and some patience, you can recreate this age-old recipe in your own kitchen and enjoy a truly soulful Indian delicacy.
Do Follow Us On Instagram